


Posted by Faroo Pets Grooming
on July 29, 2026

A simple bath routine — prep brush, dog-safe shampoo, a 3–5 minute conditioner dwell, cool rinse, thorough dry, and a finish brush — is the fastest, safest way to a noticeably shinier coat. Most dogs show visible improvement within a few sessions, and the change isn’t just cosmetic. Regular grooming helps detect early skin problems, reduces parasite risk, and supports overall wellbeing. Diet matters just as much as what you apply topically: 71% of pet parents reported visible coat improvement after switching to a nutrient-rich diet.
Quick timeline to expect:
- Sessions 1–2: coat feels softer and detangles more easily
- Sessions 3–4: visible shine and reduced frizz
- 4–8 weeks of consistent care: lasting texture improvement and healthier skin
Pro Tip: Before you start, read through our guide on how to prepare your dog for grooming so the whole session goes smoothly for both of you.
Table of Contents
- What are the best dog coat conditioning tips for a bath routine?
- Safe DIY conditioner recipes and how to pick commercial products
- How should you adjust conditioning for your dog’s coat type?
- Does your dog’s diet actually affect coat quality?
- Which brushes and techniques actually improve coat condition?
- How often should you condition, and when will you see results?
- What safety warnings should every dog owner know?
- Why does conditioner actually work, and what do pro groomers do differently?
- Key Takeaways
- Why consistency beats miracle products every time
- Faroopets’ grooming services make conditioning easier for your dog
What are the best dog coat conditioning tips for a bath routine?
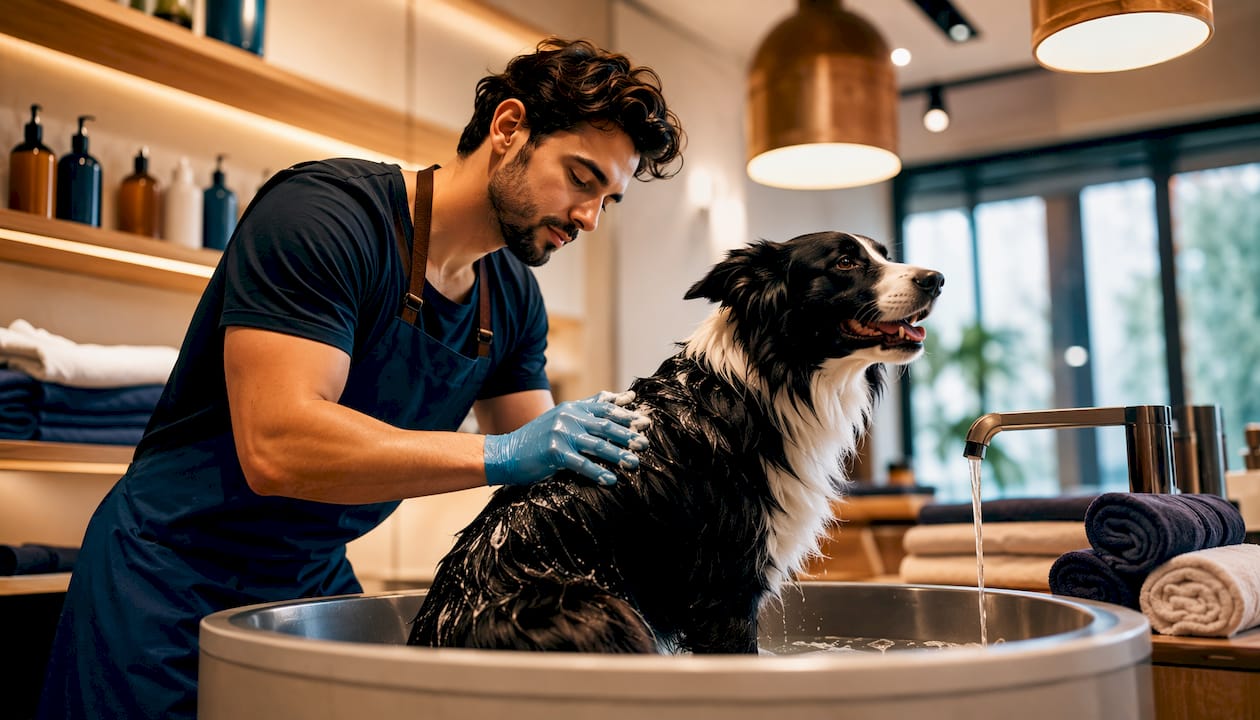
A repeatable, step-by-step process is what separates a coat that looks great for a day from one that stays healthy long-term. Here’s the routine we recommend, built around professional groomer practice.
- Brush first. Work through any tangles before water touches the coat. Wet mats tighten and become nearly impossible to remove without hurting your dog.
- Shampoo with a dog-formulated product. Human shampoos have the wrong pH for canine skin. Work the shampoo in from neck to tail, then rinse completely.
- Apply conditioner from ends to roots. Start at the tips of the fur and work upward. This prevents product buildup at the skin and distributes moisture where the coat needs it most.
- Leave it on for 3–5 minutes. Professional guidance confirms this window lets active ingredients penetrate the hair shaft. Use the time to gently massage the coat or check your dog’s skin for any unusual spots.
- Rinse with cool water. A cool final rinse helps seal the cuticle, which is what gives the coat its shine. Warm water leaves it slightly open.
- Dry thoroughly. Towel-dry first, then use a low-heat blow dryer if your dog tolerates it. Our pet drying guide covers the best technique for each coat type.
- Finish with a brush. A final brush distributes natural oils, removes any remaining loose hair, and gives the coat that polished, healthy look.
Pro Tip: If you’re using a paste-style or concentrated conditioner, emulsify it first. Rub it between your palms with a little warm water until it becomes a light, even liquid before applying. This prevents greasy patches and helps the product spread evenly through the coat.
Safe DIY conditioner recipes and how to pick commercial products
Homemade conditioners work well for many dogs, especially when you want to keep ingredients simple and avoid preservatives. These three recipes are widely used and safe when applied correctly.
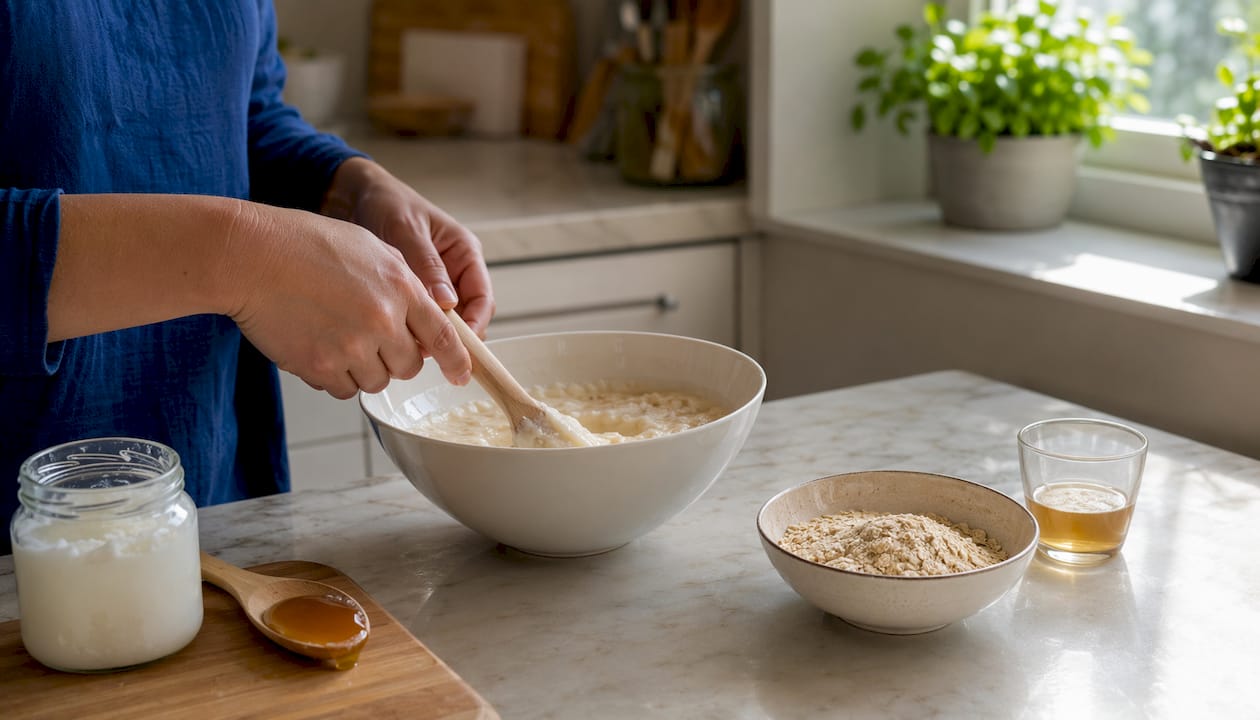
DIY moisturizing mask (rinse-out): Combine 2 tablespoons coconut oil, ¼ cup ground oatmeal, 1 tablespoon honey, and ¼ cup warm water. Apply after shampooing, leave on for a few minutes, then rinse thoroughly. This mix soothes itchy skin and adds softness. Make a fresh batch each time — food-based conditioners have no preservatives and can grow bacteria if stored.
Apple cider vinegar rinse: Dilute one part apple cider vinegar with three parts water. Pour over the coat after shampooing and rinse out after 1–2 minutes. This helps restore pH balance and adds a light shine. Keep it away from the eyes and any open skin irritations.
Rosemary leave-in spray: Steep two sprigs of fresh rosemary in two cups of boiling water, cool completely, strain, and pour into a spray bottle. Mist lightly over a dry coat and brush through. Do not use on dogs with epilepsy, as rosemary can be a trigger.
When to choose a commercial product instead:
- Your dog has sensitive or reactive skin (commercial formulas are pH-tested and dermatologist-reviewed)
- The coat is heavily matted (a professional detangling conditioner works faster and more safely)
- You want a leave-in detangler for between-bath maintenance
- You need a conditioning mask for a dry or brittle coat
Look for products labeled moisturizing conditioner, leave-in detangler, or conditioning mask. Avoid anything formulated for humans, and skip products containing tea tree oil, eucalyptus, or other essential oils that can be toxic to dogs.
How should you adjust conditioning for your dog’s coat type?
Not every coat responds the same way, and using the wrong approach can flatten texture, cause buildup, or leave your dog uncomfortable. Here’s how to tailor your routine.
- Short/smooth coats (Beagles, Boxers): Light conditioning only, or a leave-in detangling spray. Focus on skin comfort rather than heavy moisture. Monthly conditioning is usually plenty.
- Long/silky coats (Yorkies, Afghan Hounds): Apply more conditioner to the ends, where dryness and splitting happen first. Brush frequently between baths to prevent mats. Condition every 4–6 weeks or whenever you bathe.
- Curly/coily coats (Poodles, Doodles): These coats lose moisture fast and mat easily. Use a moisturizing mask or leave-in conditioner. Avoid stripping with frequent baths. Condition at every bath, and use a leave-in spray between sessions.
- Double coats (Huskies, Golden Retrievers): Apply conditioner sparingly at the roots to preserve the undercoat’s natural insulating function. Focus on brushing and de-shedding. Our guide on double-coat grooming explains the full approach.
- Wiry coats (Terriers, Schnauzers): Use conditioner minimally and only on the skin, not the outer coat. Over-conditioning softens the wiry texture and changes how the coat functions. Grooming-specific products designed for wire-haired breeds are the safest choice.
Does your dog’s diet actually affect coat quality?
Yes, and the effect is significant. The coat is made almost entirely of protein, so a diet low in high-quality animal protein will show up as dullness, brittleness, or excessive shedding before almost any other symptom appears.
Omega-3 and omega-6 fatty acids are the other major factor. They support the skin’s moisture barrier, which directly affects how the coat looks and feels. Fish oil is the most common supplement used for this purpose, and coconut oil can be added to food (roughly 1 tablespoon per day for a medium-sized dog) or applied topically as a light moisturizer. Always check with your vet before adding any supplement, since the right dose depends on your dog’s size, age, and health status.
What to consider adding (with vet approval):
- Fish oil capsules or liquid (omega-3 source)
- Coconut oil, internally or topically
- Brewer’s yeast (supports skin health and may reduce shedding)
- Biotin, if your vet identifies a deficiency
Hydration matters too. A dog that doesn’t drink enough water will have a drier coat and skin, regardless of what you apply externally. Fresh water available at all times is one of the simplest coat-care steps you can take.
Dietary changes typically take several weeks to a few months to show up in the coat, since hair grows slowly. Stick with any nutritional adjustment for at least 6–8 weeks before evaluating results. For a deeper look at how food choices affect grooming outcomes, our article on nutrition and grooming results is a good next read.
Pro Tip: Never start a supplement routine without a vet visit first. Some supplements interact with medications or are inappropriate for dogs with certain conditions.
Which brushes and techniques actually improve coat condition?
Brushing is the mechanical half of conditioning. It removes loose hair, distributes the skin’s natural oils, and prevents the mats that make conditioning sessions harder and more stressful for your dog. Regular brushing is the foundation of a healthy coat, and the right tool makes a real difference.
Tool guide by coat type:
- Slicker brush: Best for long, curly, and double coats. Removes tangles and loose fur.
- Pin brush: Gentle on silky and fine coats. Good for finishing and fluffing.
- Bristle brush: Ideal for short and smooth coats. Distributes oils and adds shine.
- Undercoat rake or de-shedding tool: For double coats during shedding season. Removes dead undercoat without damaging the topcoat.
- Grooming glove: Great for short-haired dogs and dogs that resist brushes. Doubles as a massage.
Safe brushing session, step by step:
- Start at the head and work toward the tail, then down each leg.
- Work in sections, holding the coat above the section you’re brushing to reduce pulling.
- For tangles, start at the ends and work upward toward the root — never drag a brush through a mat from root to tip.
- Use short, gentle strokes rather than long, forceful pulls.
- Finish with a light pass of a bristle brush to smooth and shine.
If you encounter a tight mat you can’t release within a minute or two of gentle work, stop. Aggressive pulling can tear skin. A professional groomer can de-mat safely, and for severe cases, clipping is kinder than forcing a brush through.
How often should you condition, and when will you see results?
Frequency depends on coat type and lifestyle, not a one-size-fits-all schedule. Overbathing strips the coat’s natural oils and causes the dryness you’re trying to fix, so bathing only as needed is the right baseline.
General conditioning frequency by coat type:
- Short/smooth coats: roughly monthly
- Long/silky coats: every several weeks, or at each bath
- Curly/coily coats: at every bath, with additional leave-in spray between sessions
- Double coats: focus on brushing; condition lightly at each bath, minimal at roots
- Wiry coats: sparingly, only when needed for skin comfort
Most owners notice a real difference after 2–3 proper conditioning sessions. The coat feels softer, detangles more easily, and starts to reflect light more evenly. Lasting texture improvement takes several weeks of consistent care.
For budget-conscious owners, a good leave-in detangling spray costs less than a full conditioning mask and works well for maintenance between deeper treatments. DIY recipes (like the oatmeal and coconut oil mix) are the most affordable option. Commercial conditioning sprays sit in the mid-range, and professional conditioning treatments are the most thorough option for dogs with heavy matting or very dry coats. To extend the results of any session, our tips on prolonging grooming effects are worth bookmarking.
What safety warnings should every dog owner know?
A few common mistakes can turn a helpful conditioning routine into a source of irritation or worse. Keep these cautions in mind.
- Ingredient allergies: Introduce any new product or DIY recipe on a small patch of skin first. Wait 24 hours before a full application. Signs of a reaction include redness, scratching, or swelling.
- Eye irritation: Keep all conditioners, rinses, and sprays away from the eyes. Even gentle formulas sting.
- Residue risk: Conditioner left in the coat causes itching, dullness, and faster re-soiling. Rinse until the water runs completely clear.
- Human products: Human shampoos and conditioners have a pH of around 5.5, while dogs need a pH closer to 7. Using human products regularly disrupts the skin barrier.
- Toxic DIY ingredients: Avoid tea tree oil, eucalyptus, peppermint, and clove in any homemade mix. These are toxic to dogs even in small amounts.
- Unpreserved food mixtures: Discard any leftover DIY conditioner after each use. Honey, eggs, and oatmeal mixtures grow bacteria quickly without preservatives.
When to call your vet:
- Persistent itching or scratching that doesn’t resolve after switching products
- Patches of hair loss or thinning
- Hot spots, redness, or signs of skin infection
- Flaking that worsens after conditioning
Pro Tip: Always consult your vet before starting any oral supplement or using a topical treatment long-term, especially if your dog has a history of skin conditions or allergies.
Why does conditioner actually work, and what do pro groomers do differently?
Shampoo opens the hair shaft to lift dirt and oil. That’s its job, and it does it well. But an open cuticle is rough, dull, and prone to tangling. Conditioner closes and smooths the cuticle after shampooing, reducing friction between strands and allowing light to reflect more evenly off the surface. That’s where shine actually comes from.
The 3–5 minute dwell time isn’t arbitrary. Active ingredients need time to penetrate and bond with the hair shaft. Rinse too soon and you’ve done little more than wet the coat. The cool final rinse then contracts the cuticle slightly, locking in moisture and adding that polished finish you see after a professional groom.
What experienced groomers do that most owners skip:
- Emulsify paste conditioners between the palms with warm water before touching the coat — this prevents greasy patches and ensures even coverage
- Work from ends to roots, not roots to ends, to avoid buildup at the skin
- Schedule heavier conditioning sessions after a thorough de-shedding brush-out, so the product reaches the coat evenly without trapping loose undercoat hair underneath
- Use a cool-water final rinse every single time, even when it feels like an extra step
A systemic approach drives lasting results. Topical conditioning alone often falls short without consistent brushing and a solid diet behind it. The coat is a reflection of what’s happening inside and outside, and the groomers who get the best results treat it that way.
Key Takeaways
Consistent conditioning, matched to your dog’s coat type and backed by good nutrition, produces the most durable improvements in coat health and shine.
| Point | Details |
|---|---|
| Core routine | Brush before bathing, apply conditioner from ends to roots, leave on 3–5 minutes, rinse with cool water, dry fully, and finish with a brush. |
| Diet drives results | 71% of pet parents saw visible coat improvement after switching to a nutrient-rich diet; omega-3s and protein are the key factors. |
| Match frequency to coat type | Short coats: monthly. Long/curly: every 4–6 weeks. Double coats: focus on brushing, condition lightly at each bath. |
| Safety first | Discard DIY food-based conditioners after each use; avoid human products and toxic essential oils; consult a vet for persistent skin issues. |
| Professional help | Faroopets’ mobile grooming sessions include deep conditioning treatments and breed-specific expertise for dogs that need more than at-home care can provide. |
Why consistency beats miracle products every time
Here’s an opinion worth sitting with: the pet grooming industry sells a lot of “transformative” products, and most of them work about as well as a consistent routine with basic, well-chosen ingredients. We’ve seen dogs come in looking dull and tangled after months of expensive conditioning sprays, and we’ve seen dogs with genuinely beautiful coats whose owners use nothing fancier than a good dog shampoo, a simple conditioner, and a weekly brush.
The real variable isn’t the product. It’s whether the routine actually happens, whether it’s matched to the coat type, and whether the dog’s diet supports what the topical care is trying to do. A moisturizing mask applied to a dog eating a low-protein kibble will never produce the results that a basic conditioner plus a high-quality diet will. The coat grows from the inside out.
Patience matters too. Owners who switch products every few weeks because they don’t see instant results are the ones who never see lasting improvement. Coat changes take weeks to months. Stick with a routine long enough to actually evaluate it.
For persistent matting or skin issues that don’t respond to at-home care, a professional pet grooming service isn’t a luxury. It’s the practical choice. A trained groomer can de-mat safely, identify early skin problems, and recommend the right product for your dog’s specific coat. That’s a service worth using when you need it.
Faroopets’ grooming services make conditioning easier for your dog
When at-home conditioning isn’t enough — or when you simply want a professional result — Faroopets brings the full grooming experience directly to your door. Our certified groomers are trained in breed-specific coat care, and every session includes the kind of thorough conditioning, de-matting, and finishing work that’s hard to replicate at home.

For dogs with heavy matting, very dry coats, or coats that need a professional reset, our Luxury Full Dog Grooming package includes deep conditioning treatments and expert styling. If you want to build a consistent professional routine alongside your at-home care, our 3-session grooming package is the most cost-effective way to do it. You can also browse all available options and choose your service based on your dog’s size, coat type, and needs. Book directly through our website and we’ll take care of the rest.
Useful sources
- ASPCA: Dog Grooming Tips — foundational guidance on brushing frequency, coat health, and safe grooming practices
- Groomers World: Dog Conditioning — professional explanation of how conditioner works on the hair shaft and cuticle
- Essencera: How to Use a Dog Coat Conditioner — dwell time, application technique, and cool-rinse guidance from a grooming product specialist
- Wag!: How to Condition a Dog’s Coat — practical DIY recipes including the oatmeal and coconut oil mix, with safety notes on food-based formulas
- FURminator: How to Keep Your Dog’s Coat Healthy and Shiny — coconut oil usage, topical and dietary, with vet-consult recommendation
- Freshpet: How Nutrition Shapes Your Dog’s Coat — diet and omega-3 research, including the 71% improvement statistic
- Broadstreet Vet: Easy Tips to Keep Your Dog’s Coat Shiny — overbathing risks and frequency guidance from a veterinary practice
- PetLabCo.: 10 Vet-Reviewed Dog Grooming Tips — vet-reviewed overview of grooming as a health tool, not just an aesthetic one
This article is general information, not veterinary advice. For health concerns specific to your dog, consult a licensed veterinarian.
