


Posted by Faroo Pets Grooming
on June 05, 2026

TL;DR:
- Bird nail trimming involves carefully clipping nails to a healthy length while avoiding the quick, which contains blood vessels and nerves. Using appropriate tools, maintaining a calm approach, and taking tiny slivers during trimming help prevent injuries and build trust with your bird. Seek professional help for severe overgrowth, dark nails, or if your bird panics, to ensure safety and proper care.
Bird nail trimming is the practice of carefully clipping a bird’s nails to a healthy length while protecting the sensitive quick, the living core inside each nail that contains blood vessels and nerves. Overgrown nails cause real harm. They snag on cage bars, throw off your bird’s perch grip, and can curl into the foot pad if left too long. The good news is that with the right tools, a calm approach, and a clear bird nail trimming workflow, you can do this safely at home. This guide covers everything from anatomy to aftercare, so both you and your bird come out of the experience feeling good.
What tools do you need for bird nail trimming?
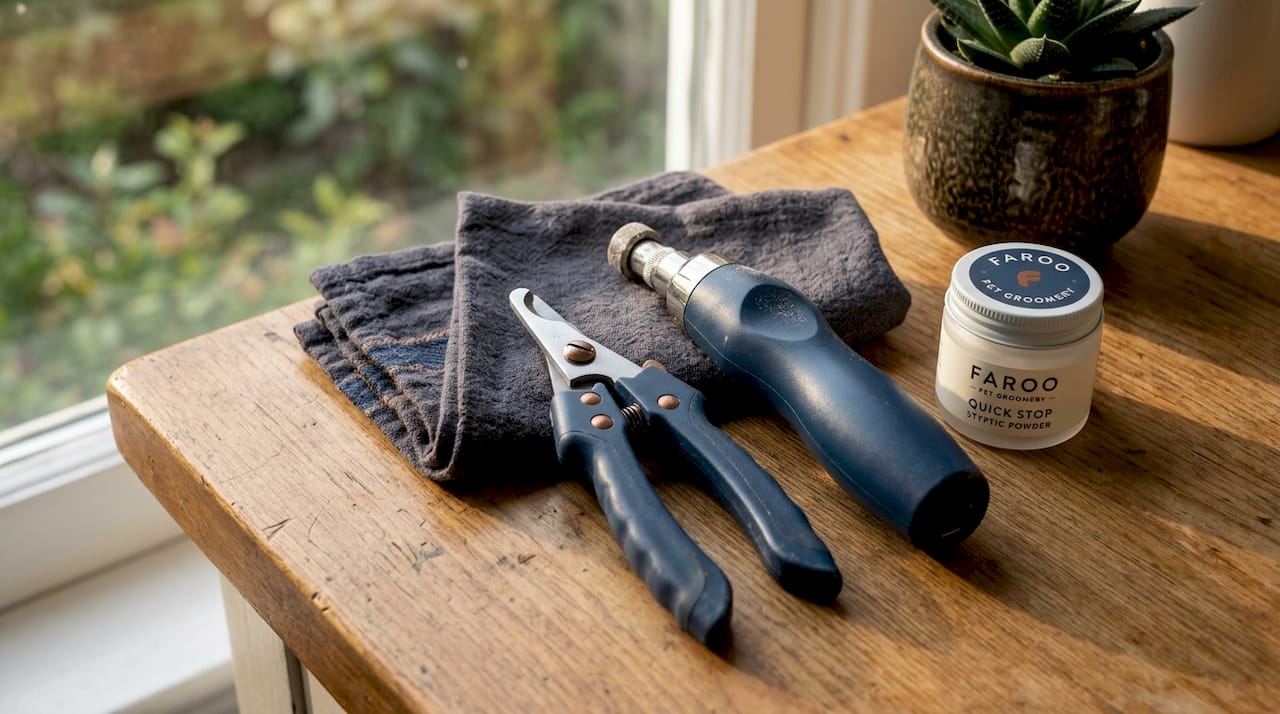
The right equipment makes the difference between a smooth trim and a stressful one. Scissor-style trimmers work best for small to medium birds like budgies, cockatiels, and conures. Guillotine-style clippers are not recommended because they can crush the nail and block your view of where you are cutting. For very small birds, human nail clippers are a practical alternative that many experienced owners prefer.
Here is what to have ready before you start:
- Scissor-style nail clippers or small pet nail scissors for clean, controlled cuts
- A penlight or small flashlight to illuminate the quick in light-colored nails
- Styptic powder or cornstarch to stop bleeding immediately if you nick the quick
- A clean, soft towel for safe restraint without harming feathers
- An emery board or nail grinder (optional) for smoothing sharp edges after clipping
Pro Tip: Keep your styptic powder within arm’s reach before you even pick up your bird. Scrambling for it mid-trim while your bird is stressed will make everything harder.
| Tool | Best for | Drawback |
|---|---|---|
| Scissor-style clippers | Small to medium birds, precise cuts | Requires steady hand |
| Human nail clippers | Tiny birds like finches or budgies | Limited for larger nails |
| Guillotine clippers | Not recommended | Crushes nail, blocks view |
| Nail grinder | Smoothing edges, gradual reduction | Noise and vibration stress some birds |
| Penlight | Visualizing the quick in pale nails | Less effective on dark nails |
A grinder can be useful for birds that tolerate the vibration, but introduce it slowly. The noise alone can frighten a bird that has never heard it before. Check out our guide on must-have grooming products for a full breakdown of nail trimmers and styptic powders suited to bird care.
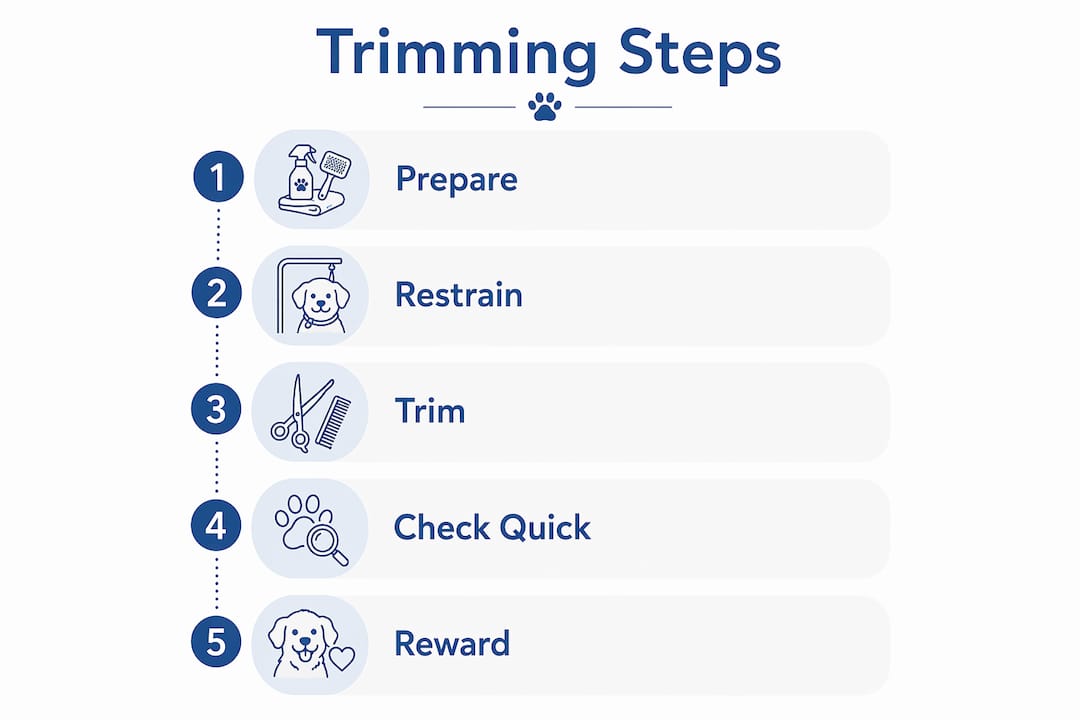
How to trim bird nails at home: step-by-step workflow
The most common mistake in avian nail trimming is taking off too much at once. Most trimming injuries come from large cuts, not from misjudging the quick’s location. Tiny slivers are always the safer approach, especially for dark nails where you cannot see the quick clearly.
Follow these steps for a calm, controlled trim:
-
Prepare the space. Choose a quiet room with good lighting. Have all your tools laid out and within reach. A second person to help restrain the bird makes the process much easier.
-
Wrap your bird in a towel. Use the “burrito” method: fold the towel snugly around the bird’s body, leaving one foot exposed at a time. This limits wing flapping and keeps your bird secure without squeezing.
-
Expose one toe at a time. Hold the foot gently but firmly. Extend one toe and look at the nail from the side.
-
Check for the quick. In light-colored nails, shine your penlight through the nail from behind. The quick appears as a pinkish shadow. Stop trimming at least 1 to 2 millimeters before that shadow ends. For dark nails, trim tiny slivers and check the cut surface after each snip. A small gray or white dot in the center of the cut surface means you are getting close.
-
Clip in small slivers. Cut just the very tip. Pause. Look. Cut again if needed. This is slower, but it is the only safe method for dark nails.
-
Smooth the edges. Run an emery board lightly over the tip to remove any sharp points that could snag or scratch.
-
Reward your bird immediately. Offer a favorite treat, speak softly, and let your bird decompress. Keeping sessions short and ending on a positive note builds trust over time.
Pro Tip: If your bird is very anxious, trim just one or two nails per session rather than all at once. Spread the sessions over a few days. Your bird’s comfort matters more than finishing quickly.
Training your bird to accept foot handling through short, treat-rewarded sessions before the first trim dramatically reduces stress on the day. Start by simply touching the feet, then progress to holding a toe, then to the sound of the clippers near the foot.
What happens if you cut the quick, and how do you handle it?
Cutting the quick is the moment every bird owner dreads, but it happens to experienced groomers too. Remaining calm is the single most important thing you can do. Your bird reads your energy. If you panic, your bird panics, and that makes everything worse.
Here is how to respond immediately:
- Apply styptic powder or cornstarch directly to the bleeding nail tip and hold gentle pressure for 30 to 60 seconds.
- Keep your bird still and calm. Wrap it back in the towel if needed and speak in a low, steady voice.
- Check the bleeding after one minute. Most cases stop quickly with proper pressure and powder.
- Do not resume trimming that session. Give your bird time to recover before continuing another day.
“Most bleeding stops quickly with proper care. Prolonged bleeding that does not respond to styptic powder within a few minutes requires a veterinarian.” — Avian Nail Trimming Safety Tips
The psychological impact matters too. A bad experience can make future trims much harder if you do not actively rebuild trust. Use treats, calm handling, and short positive sessions in the days after an incident. The fear cycle breaks when your bird learns that handling still leads to good things.
Pro Tip: For dark nails, trim in a well-lit area and cut one tiny sliver at a time. After each cut, look at the flat surface of the nail. When you see a small dark dot appear in the center, stop immediately. That dot is the quick.
Signs your bird needs a nail trim and how to monitor nail health
Knowing when to trim is just as important as knowing how. Signs that a bird needs a nail trim include nails that are visibly long and curling, difficulty gripping perches, nails getting caught on cage bars or fabric, and scratching the handler more than usual during handling.
Watch for these specific indicators:
- Nails that curve past the natural arc of the toe
- Your bird shifting its weight or favoring one foot while perching
- Nails snagging on toys, perches, or your clothing
- Visible sores or pressure points on the foot pad
- Changes in how your bird walks or grips
Overgrown nails disrupt perching mechanics and can cause calluses and deformities over time. This is not just a cosmetic issue. It affects your bird’s comfort and mobility every single day.
| Nail condition | What it signals | Recommended action |
|---|---|---|
| Slightly long, no curling | Routine trim needed | Home trim with proper tools |
| Curling or hooking | Overgrowth, possible discomfort | Trim promptly or seek professional help |
| Rapid growth rate | Possible health concern | Consult an avian vet |
| Cracked or split nails | Injury or nutritional issue | Vet evaluation recommended |
Rapid nail or beak growth can indicate underlying health problems, including liver disease. If your bird’s nails seem to grow unusually fast between trims, that is a signal worth discussing with an avian veterinarian. The perch type your bird uses also affects nail wear. Rough-textured perches like natural wood or concrete perches help file nails naturally, while smooth dowel perches offer no wear at all.
Learn to spot grooming needs early so you can act before overgrowth becomes a health problem.
When should you seek professional nail trimming help?
Some situations call for a professional, and recognizing them early protects both you and your bird. First-time trimmers and owners whose birds panic during restraint are better served by a trained avian groomer or vet for the initial trim. Watching a professional handle your bird once teaches you more than any written guide can.
Seek professional help when:
- Your bird has dark nails and you cannot confidently identify the quick
- There has been a previous bleeding incident that shook your confidence
- The nails are severely overgrown, twisted, or cracked
- Your bird struggles violently during restraint and risks injuring itself
- You notice abnormal perching that does not improve after a trim
For severely overgrown nails, professionals often use a staged approach. They remove only what is safely possible in the first session, then allow time for the quick to recede before trimming further. Trying to correct severe overgrowth in one session almost always results in cutting the quick.
Professional grooming also builds your confidence as an owner. Watching a trained groomer work gives you a clear mental model of proper technique, restraint, and pacing. Many bird owners who start with professional trims feel ready to handle routine maintenance at home within a few sessions. Our bird grooming services in Dubai are available for exactly these situations.
Key takeaways
Safe, effective bird nail care requires the right tools, a calm approach, and a commitment to tiny, controlled cuts rather than large ones.
| Point | Details |
|---|---|
| Use scissor-style clippers | Scissor trimmers give the best control for small to medium birds; avoid guillotine types. |
| Trim in tiny slivers | Small cuts prevent hitting the quick, especially critical for dark nails where it is not visible. |
| Always have styptic powder ready | Apply immediately to any bleeding nail and hold gentle pressure for 30 to 60 seconds. |
| Watch for overgrowth signs | Curling nails, perch difficulty, and snagging are clear signals that a trim is overdue. |
| Know when to call a professional | Dark nails, severe overgrowth, or a panicking bird are all reasons to seek avian grooming help. |
What I have learned from years of bird nail care
Here is something most guides will not tell you: the hardest part of bird nail trimming is not the technique. It is managing your own anxiety. Birds are extraordinarily sensitive to human emotion, and a nervous owner holding clippers near a bird’s foot is a recipe for a bad session. I have seen confident, experienced groomers complete a full trim in under three minutes on a bird that had previously required two people to restrain. The difference was not skill alone. It was calm, deliberate energy.
The tiny trims method feels slow at first. You will want to take a bigger cut and get it over with. Resist that instinct. One small nick can set back weeks of trust-building work. Treat each tiny sliver as a win, not a delay.
For birds that are genuinely difficult to handle, I always recommend starting with foot desensitization weeks before the first trim. Touch the feet during cuddle time. Hold a toe gently while offering a treat. Let your bird hear the sound of the clippers without using them. By the time you actually trim, the whole experience feels familiar rather than threatening.
And when things go wrong, because sometimes they do, do not let one bad session define your approach. Apply the styptic powder, comfort your bird, and come back in a few days with fresh patience. The bond that comes from consistent, gentle grooming care is one of the most rewarding parts of keeping a bird.
— Growth
Ready to give your bird the care they deserve?
If you want professional support for your bird’s nail care, Faroopets makes it easy. Our trained groomers in Dubai handle everything from routine nail trims to more complex grooming needs, coming directly to your location so your bird stays comfortable in familiar surroundings.

Whether you are looking for a one-time professional trim to build your confidence or ongoing grooming support, the Sophisticated Pampering Bird package from Faroopets covers everything your feathered companion needs. We use only safe, bird-appropriate tools and follow hygiene standards that keep your pet protected. Book your session today and let us take the stress out of grooming.
FAQ
What is the quick in a bird’s nail?
The quick is the living core of the nail containing blood vessels and nerves. Cutting it causes bleeding and pain, which is why trimming in small slivers is always the safest approach.
How often should I trim my bird’s nails?
Most pet birds need a nail trim every four to six weeks, though this varies by species, diet, and perch type. Rough-textured perches naturally slow nail growth between trims.
Can I use human nail clippers on my bird?
Yes, human nail clippers work well for very small birds like finches and budgies. For larger birds like cockatiels or conures, scissor-style pet nail trimmers give better control and visibility.
What do I do if my bird’s nails are growing unusually fast?
Rapid nail growth can signal an underlying health issue, including liver disease. Consult an avian veterinarian if you notice your bird’s nails growing much faster than usual between trims.
Is it safe to trim my bird’s nails at home for the first time?
It is possible, but first-time trimmers with dark-nailed or anxious birds are better off starting with a professional. Watching a trained groomer once gives you the confidence and technique to handle routine trims at home going forward.
